Easy portion sizes for on the go

The last couple weeks I’ve been busy getting everything ready for the kids to go back to school. I’ve been all over Pinterest pinning all the lunch ideas and back to school ideas I can! But today I have a tip for my readers that has helped me a lot!

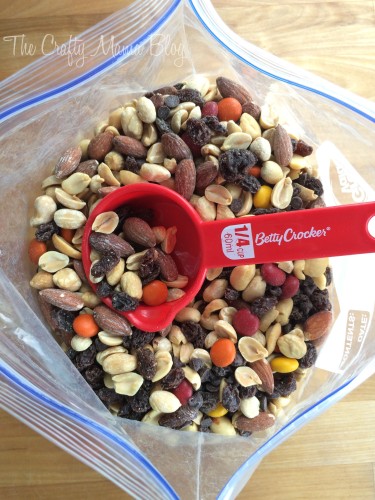
Keep a measuring cup handy for portioning out snacks. This helps me so much when packing lunches, giving the kids snacks, and especially, with dieting. If I have something in the house that’s high calorie, like trail mix, I just leave one of my measuring cups in the bag so I’m more likely to portion it out rather than grab random handfuls throughout the day. You can find measuring cups at the dollar store, and I always keep 2-3 sets on hand (mainly because I bake way too often!).

Keep a measuring cup in with trail mix and other snacks to keep portion sizes.

Keep a measuring cup in with trail mix to keep portion sizes.

I hope this tip helps!

Mini S’mores – Easy for little hands!

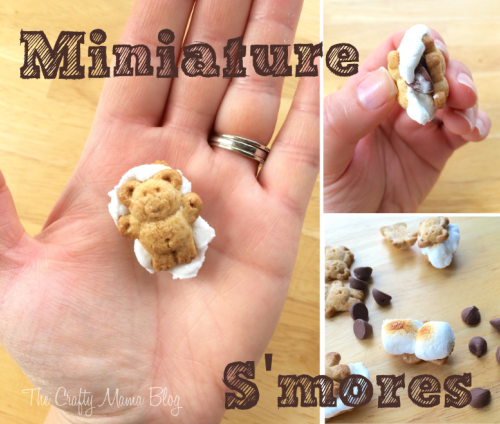
Screen Shot 2015-08-14 at 11.25.28 AMI looooove s’mores, but I have never had an easy time eating them. When you bite into it, the graham cracker smooshes melted marshmallow all over your hands and face. While it’s all part of the fun s’mores experience, it can be especially difficult for little kids to handle regular sized s’mores. And who doesn’t LOVE mini things?

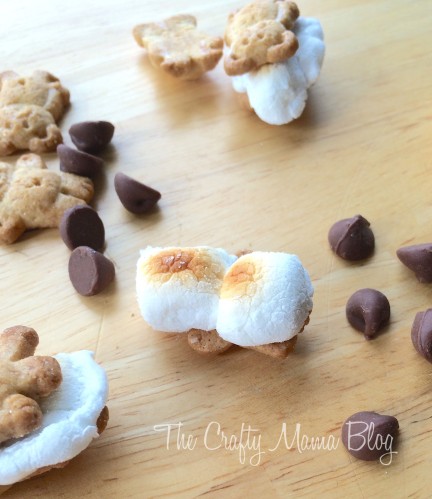
IMG_2446FFWe had an awesome time making these. We chose to make them in the toaster oven using the broil feature. I think they would turn out even better speared on a fork over an open flame (gas range, anyone?), but unfortunately we had no indoor flames available. But the toaster oven worked great for us!

IMG_2444FF

What you’ll need:
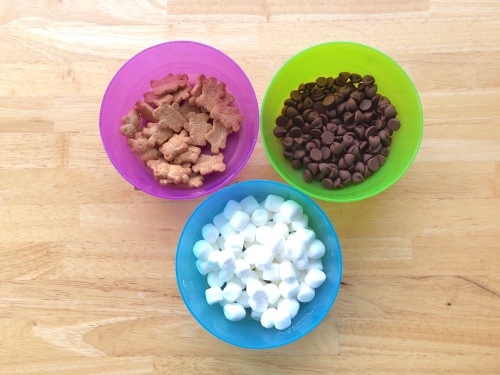
Teddy grahams
Hershey’s Milk Chocolate Chips or Kisses (It’s not a s’more if it’s not Hershey’s!)
Miniature Marshmallows

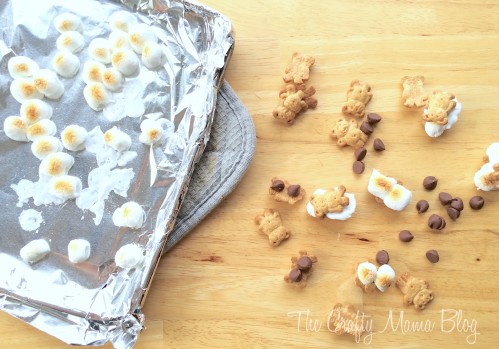
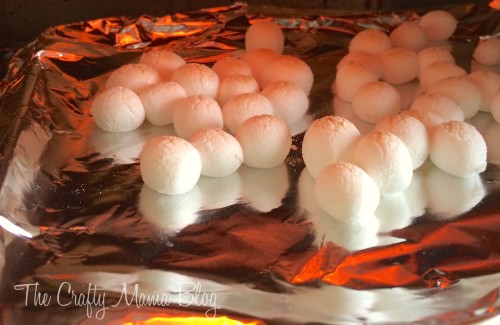
IMG_2429FFSpread out your mini marshmallows on a foil lined sheet. I didn’t grease my sheet, and the marshmallows came off the sheet fine.

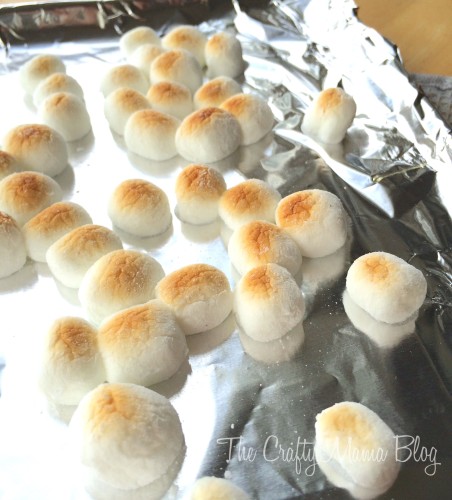
IMG_2431FFPut them under the broiler on high, watching them closely. The amount of time it takes will vary greatly, depending on how hot your broiler is, and how close the pan sits to the heat. Watch them closely to avoid catching fire. It should take between 2-6 minutes to toast. You want to hit them with high heat in order to get them to toast quickly without melting into a pile of mush. These toasted in about 4-5 minutes, and were melted on the inside, but didn’t get too melty on the outside.

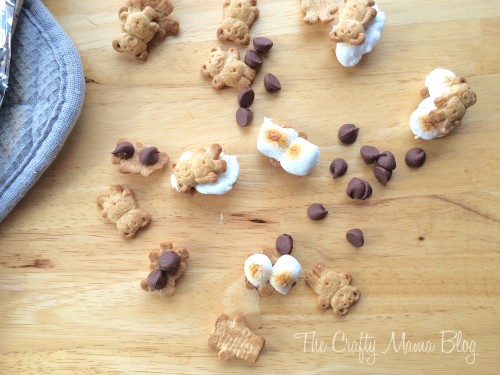
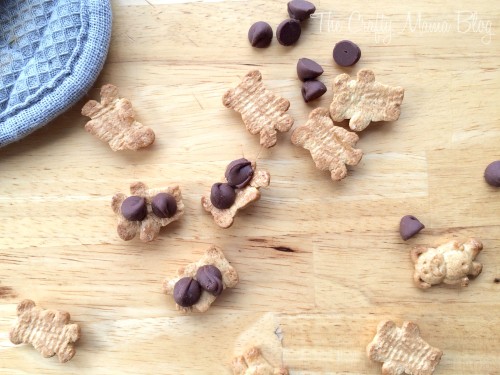
IMG_2435FFWhile the marshmallows are toasting, turn half of your Teddy Grahams upside down, and place one or two chocolate chips on each.

IMG_2437FFWhen your marshmallows are perfectly toasted, remove them from the broiler. Immediate place one or two marshmallows on each chocolate covered Teddy Graham.

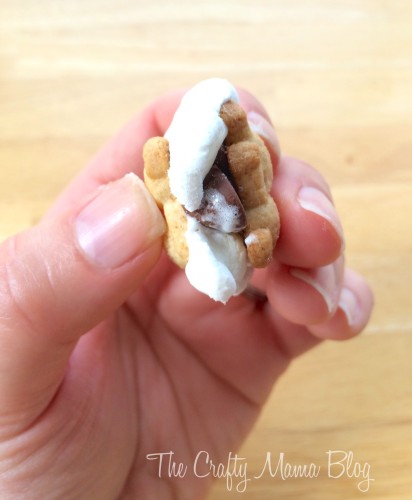
IMG_2447FFTop it with a second teddy. Serve while hot!

IMG_2451FFThese cute little s’mores were almost mess free (except for the sticky fingertips) and so much easier to handle than the larger size. The kids loved them, and they were really quick and easy to make!

The toasted marshmallows can also be replaced by peanut butter…. Don’t ask how I know this. 😉

Easy Lemon Water Fix

IMG_1605If you’ve been a long-time reader of my blog, you know that I love my freezer. My favorite time saving routine is to make things in bulk and throw the extra in the freezer for later.

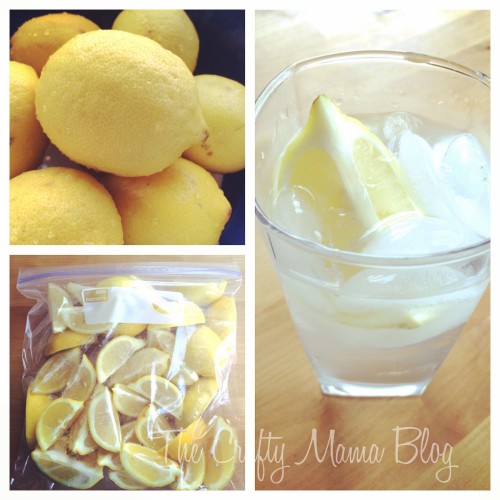
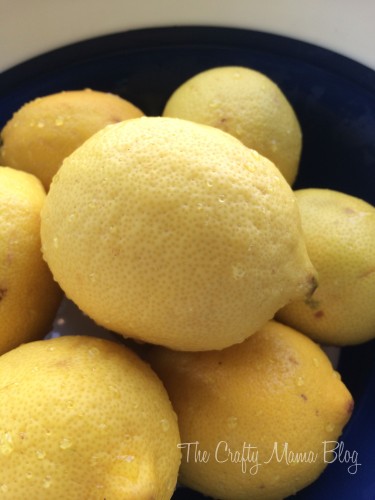
This summer I had the idea to do the same with lemons! I love drinking lemon water, but I never have lemons on hand. Healthy habits work a lot better when they’re convenient. So that’s precisely what I did with my lemons.

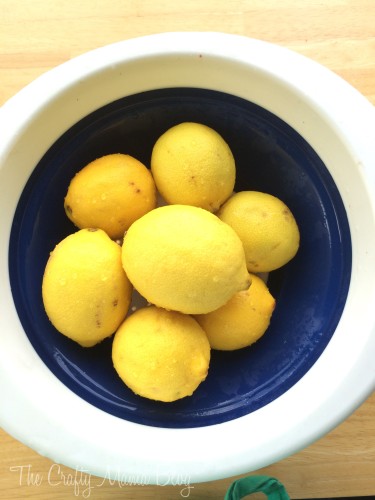
To start: wash your lemons thoroughly. You never know what kind of germs and bacteria are lingering on the skin of the lemon.

IMG_1595

IMG_1596


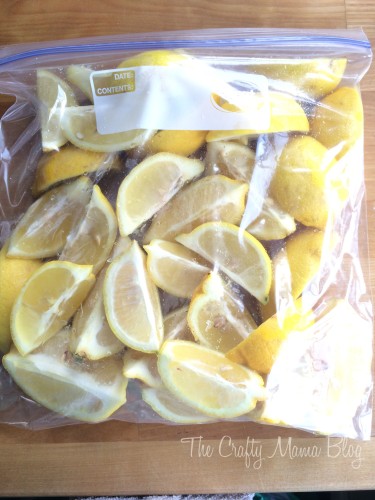
Dice them up into quarters or eighths, depending on preference. I chose to quarter mine.

Bag them up, and freeze them. Unlike most fruits, I haven’t had issues with these freezing in a giant clump. Just try to lay them out flat in the bag to freeze. After about 2 hours, move them around inside the bag and lay them flat again to finish freezing.


IMG_1597


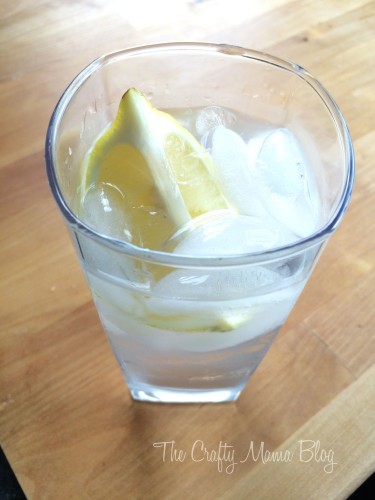
Fruit will last months in the freezer, ready to grab whenever you need it! Now you’ll have pre-frozen lemons to add to your water bottle before heading off for your day. Being healthy is never this easy!


IMG_1603

Enjoy!

My Little Pony Cakes, Part Three: Cutie Mark Cake

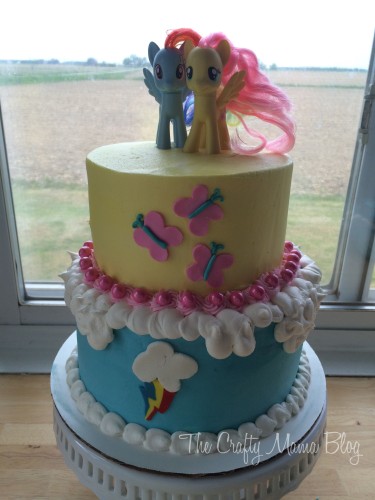
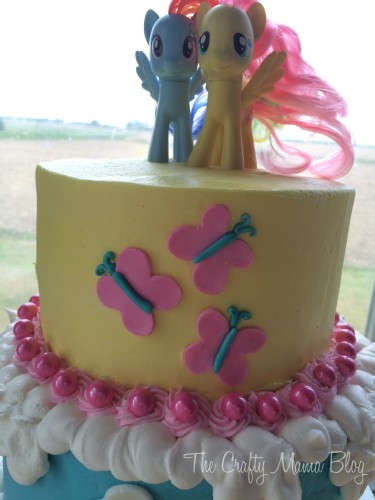
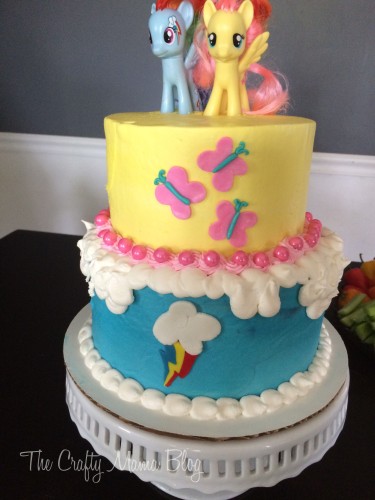
IMG_1044This cake is a bit different from the last 2 cakes that I posted here. I wanted to go for a simpler design that used fun colors instead of detailed decorating. Emma is still nuts about My Little Pony, and her favorite pony right now is Fluttershy. I decided to use each pony’s colors to decorate both the inside and the outside.

IMG_1046


The top tier was decorated with pale yellow buttercream to match Fluttershy’s coat, and adorned with a fondant cutie mark. The cutie marks were actually pretty east to free hand.

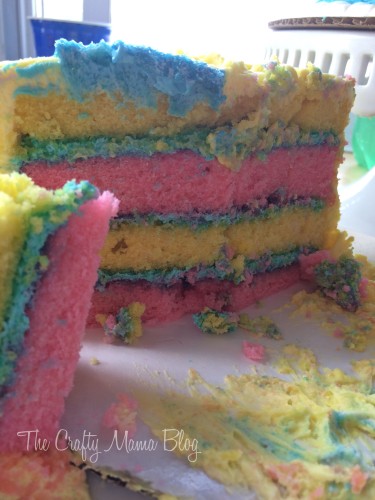
The insides of these cakes are what I was really excited to decorate. This cake is yellow and pink, with pale turquoise buttercrema to match Fluttershy’s eyes.


IMG_1059


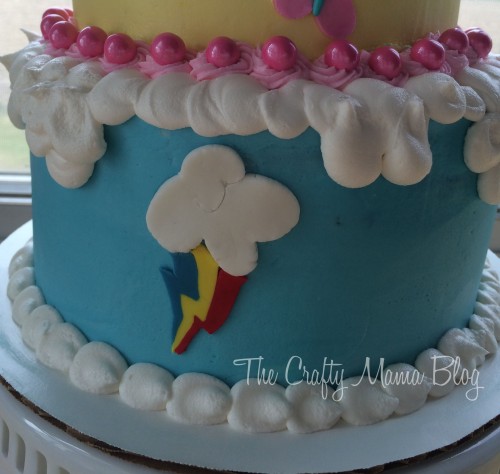
The bottom tier was decorated in pale blue buttercream to match Rainbow Dash’s coat, with her cutie mark as well. I added fluffly white buttercream clouds to complete the border.

IMG_1045

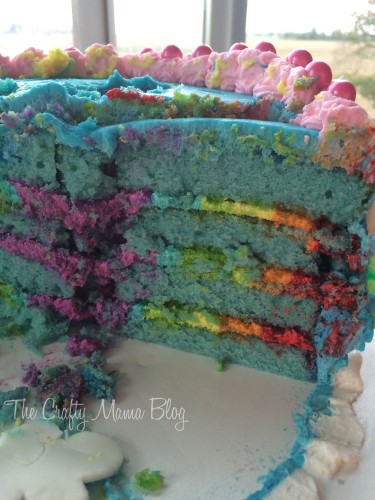
This is my absolute favorite part of this cake. RAINBOW ICING! I love finding new ways to add rainbows to make cakes. My daughter and I love everything rainbow, so this is something we can both enjoy! To create this look, I decorated between each layer with a bulls eye pattern in the rainbow color pattern. I started with a purple circle, and piped a blue circle around that, then green, and so on. I love the effect, and will definitely be playing around with this method again!

IMG_1063


IMG_1051 IMG_1053   Here is the birthday girl, excited to see her cake!

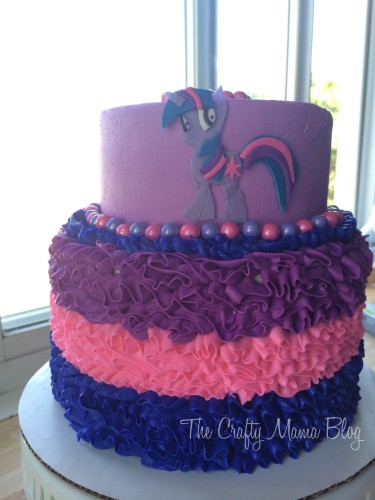
My Little Pony Cakes, Part Two: Twilight Sparkle

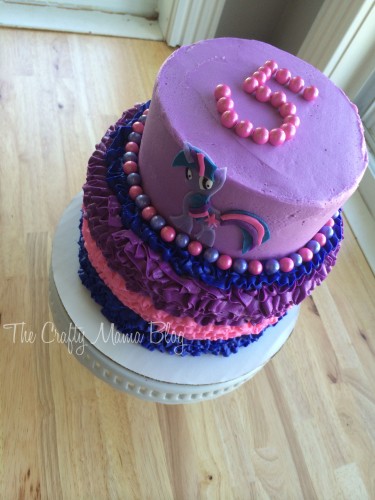
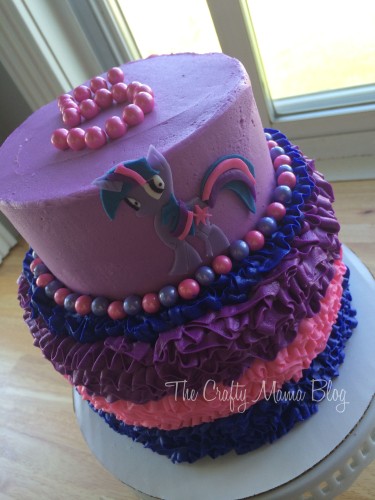
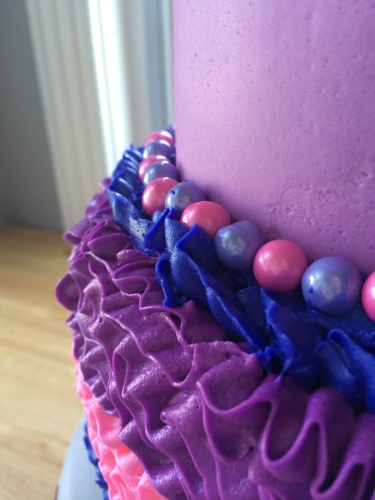
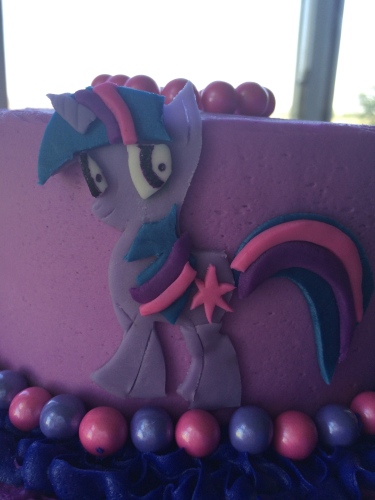
I made this cake for my daughter for her 5th birthday while she was going through her Twilight Sparkle phase. Unfortunately I didn’t get any really great pictures of it. The inside cake layers and icing were colored to match the outside of the cake.

IMG_4169 IMG_4177 IMG_4180

These pearl beads are by far my favorite addition for cake decorating. The used to sell them in bulk at our local Meijer, but are now selling them in the cake decorating aisle. There are tons of colors! They’re sixlets (chocolates from my childhood!) completely re-designed with a gorgeous pearly outside which works great for decorating! They also make a smaller non-chocolate version (though I find those will nearly crack a tooth if you munch un-suspectingly on one in a fork-full of icing!) I’ve seen them in most stores in the baking aisle.

IMG_4182

Twilight was done in the same manner that Rainbow Dash was in my last post.

IMG_4185Next up: Cutie Mark Cake!

My Little Pony Cakes, Part One: Rainbow Dash

Hey readers! I haven’t had a lot of time to get back into blogging yet (the kids will be back in school soon, so I foresee lots more blogging time in my future!) but for now I still wanted to share some content. I’ve done lots of cakes in the last year that I haven’t gotten the chance to share yet, so I’m going to start with some My Little Pony cakes! My daughter and niece both love MLP, so I’ve enjoyed making the characters into cake. I love bright colors, and most of all rainbows! So here starts a 3 part series of My Little Pony cakes!

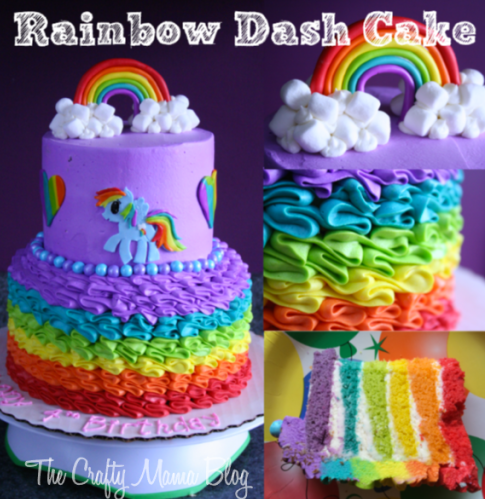
The first one I have is a Rainbow Dash cake I did for my niece.

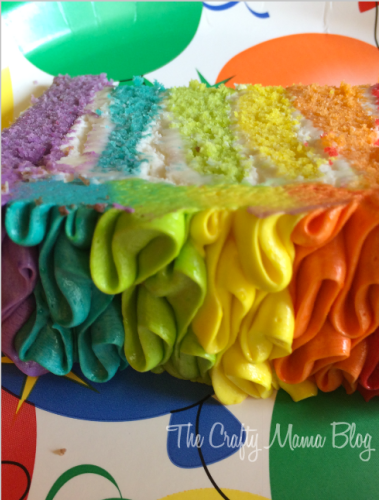
Screen Shot 2015-08-09 at 10.00.15 AMThe best part of making cakes for people you know is 1: you get to eat it, and 2: you get to see what the inside looks like after all that work!

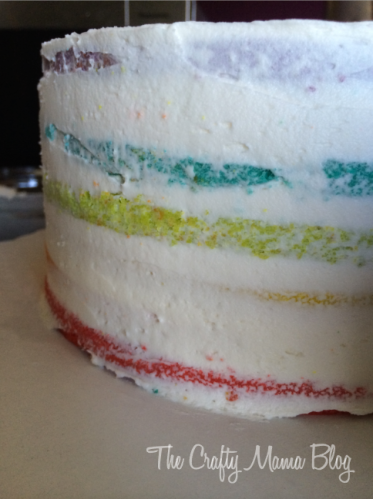
Screen Shot 2015-08-09 at 9.56.12 AMThe trick to a good rainbow cake is getting nice flat even layers (even here mine aren’t perfect!). To get flat layers, spread the cake batter in the pan evenly with a spatula and bake at 325 instead of 350. The lower temperature keeps the cake from doming. If you do end up with doming (where the cake ends up much thicker and domed in the middle), you can even it out with icing so your entire cake isn’t domed. Add enough icing around the edges of the cake to make each layer level before adding the next layer of cake. You’ll end up with a ton of icing inside the cake, but honestly, if you don’t like icing, you shouldn’t be eating a layered cake anyhow!

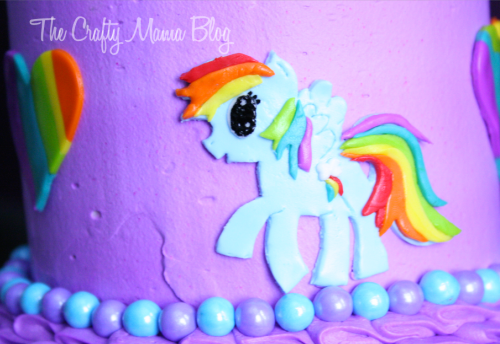
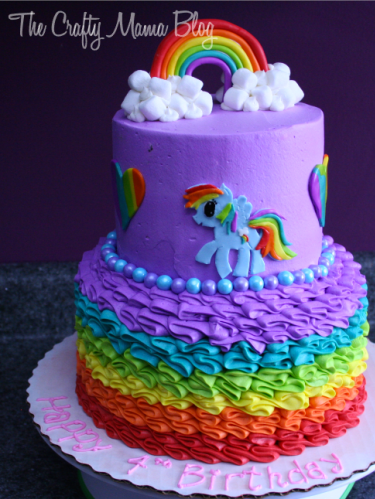
Screen Shot 2015-08-09 at 9.55.39 AMThe fondant rainbow dash was easy enough to make. I printed off a picture of her and cut it out with an x-acto knife. I then layed that on top of my rolled fondant and cut around it. When it came to the tail and mane, I cut the tail and mane off of the picture, layed it on my fondant, and cut it out with the x-acto knife. It ended up working perfectly for me!

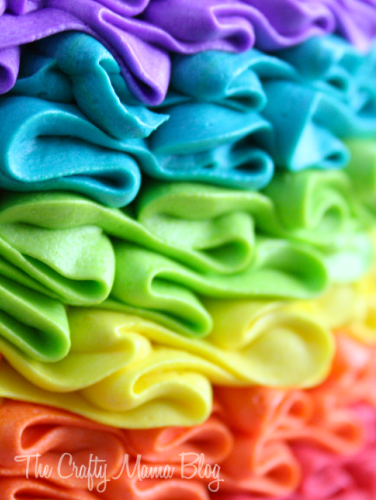
Screen Shot 2015-08-09 at 9.58.15 AM Screen Shot 2015-08-09 at 9.57.02 AMFor the ruffles, I used a skirting technique I learned at the bakery I worked at a few years back. Maybe some day I’ll do a tutorial on it! So far it’s my favorite ruffle effect for cakes.

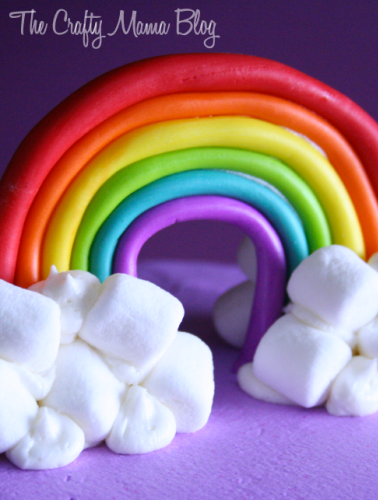
Screen Shot 2015-08-09 at 9.56.50 AMThe rainbow was actually pasted to a cardboard rainbow shape that was stuck into the top of the cake. The clouds are marshmallows held together by icing. The also acted as stabilizers for the rainbow.

Screen Shot 2015-08-09 at 9.56.40 AM

And here it is all together. This lucky little girl is coming up on another birthday, so maybe there will be a new My Little Pony cake in the works soon! I absolutely love making these ponies into different cakes, it’s been so much fun!

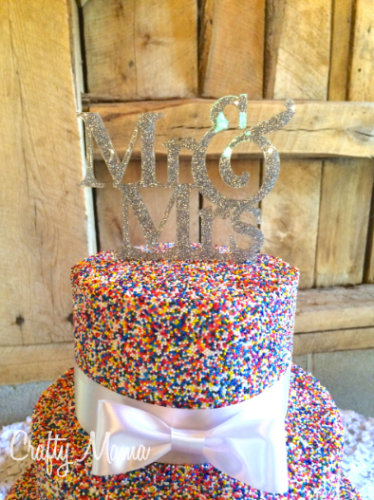
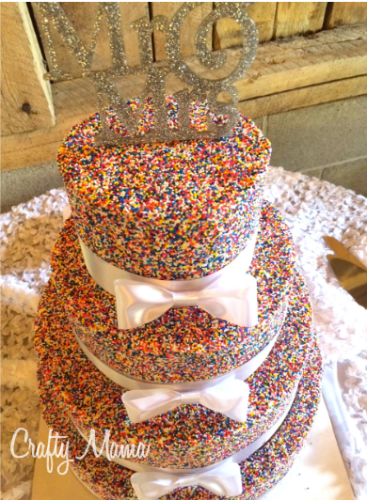
4 Tiered Wedding Cake COVERED in Sprinkles

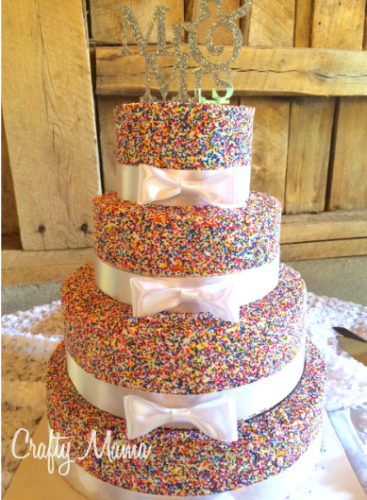
For the last few years I’ve been taking a major break from blogging. In that time, I’ve been doing a lot of different things. I’ve had a couple part time jobs to occupy my weekends, we’ve been renovating our old farm house (and our bedroom attic project is scheduled to be done SOON!), I’ve started a vinyl business from home, and I’ve also been doing a lot of cake decorating. Years ago, I went to school for baking/pastry. I love art and food art just seemed perfect. In this small town I live in, I wasn’t able to find any substantial or longterm employment doing what I love, but I was able to employ myself on a part time basis! At home cake decorating was pretty easy to fit into my life being a stay at home mom, so I ran with it. I got the chance to do so many fun cakes! Here is my most recent cake that I finished.

Screen Shot 2015-06-26 at 9.15.23 PM

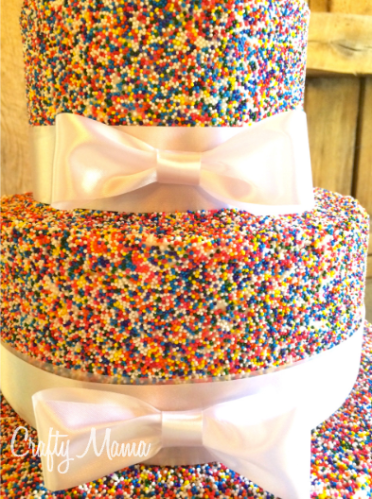
I was so in love with how this one turned out! I’ve never covered a cake in sprinkles before, but it wasn’t as difficult or time consuming as I thought it would be. I ended up only needing about 2 lbs of sprinkles (other tutorials told me about 4-5 lbs for a 4 tiered cake). A little bit of googling and a few different sources gave me all the instructions I needed.

Screen Shot 2015-06-26 at 9.16.04 PMScreen Shot 2015-06-26 at 9.15.44 PMAnd of COURSE there was a rainbow tier! I don’t have any pictures of it cut into, but I’m sure it looked gorgeous!

Screen Shot 2015-06-26 at 9.15.55 PMA few months back I made the decision to quit cakes. I stopped taking orders and set a date to be done in June. This was my second to last cake, and doing this cake *almost* made me want to not quit cakes. I just had so much fun making it! I’m so glad I got the chance to do this one, and I’m so glad it turned out so great! It was an awesome send off.

And I’m so excited to share more cakes with you guys! I have a folder full of recent cakes to share over the next few weeks!

I’m back!

Hey guys! It seems as though I’ve been MIA in the blogging world for about 2 years now! But good news, I’m coming back!

For the last couple years I’ve been pretty busy. I re-entered the working world after being a stay at home mom for 4 years, and blogging was too much to have on my plate as well. I enjoyed the break, but I’ve really been itching to get back at it! I have so many things I’ve been waiting to share!

A year and a half ago I opened my Etsy shop. It was a little slow going for the first 6 months or so, but right around Christmas-time last year, things really took off! After the Christmas rush slowed down, I determined that I still had enough business that I could quit my regular day job! I’ve been working hard to build up my shop and expand, and I’m so happy I did! I just opened up my own website to start selling independently. And today I just reached my 2000th sale on Etsy!

I can’t wait to get back at this whole blogging thing! I’m going to take a couple weeks to get re-acclimated with WordPress, give my blog a facelift, and there may be a name change in the works as well. In the meantime, I’d love to hear a shout-out from my readers in the comments to see who is still out there! My blog stats shows me I still get quite a bit of traffic to my older posts (heck, it’s been 2 years since I’ve posted much new stuff; everything is old I guess), but I know most of it is traffic from old links and Pinterest hits.

In the next few months I’m hoping to share some business tips, vinyl and Silhouette tips, and continue sharing my favorite recipes, crafts, home decor, and general life stuff!

If you want to catch up on what I’ve been up to, you can:

Go follow me on Instagram.

Screen Shot 2015-06-27 at 12.12.44 PMCheck out my new website (I’ll be adding more products in the coming weeks!)

Screen Shot 2015-06-23 at 11.13.35 PMLike my business on Facebook for general posts and updates! (I’m a little late to the Facebook train, please forgive the lack of posts and likes! But you can help by sharing my page!)

Screen Shot 2015-06-27 at 12.12.57 PMAnd if you’re an Etsy fan, go check me out there, too!

Screen Shot 2015-06-27 at 12.12.48 PMLast but not least, I wanted to say sorry to anyone who has left a comment, message, or in any way tried to contact me while I was away! I completely disconnected myself from the blog and never logged in to check my messages. From here on out I will be here!
Thanks for all the support, everyone! I can’t wait to get back at it!